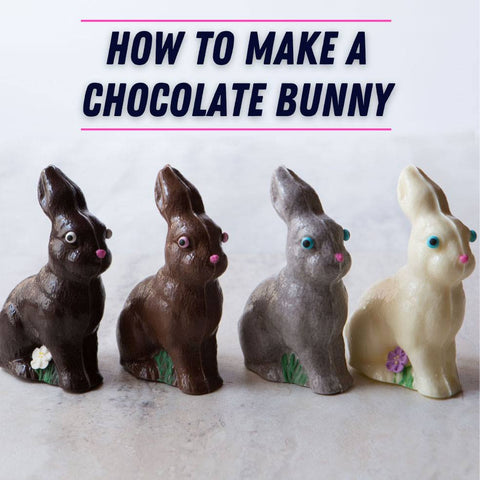
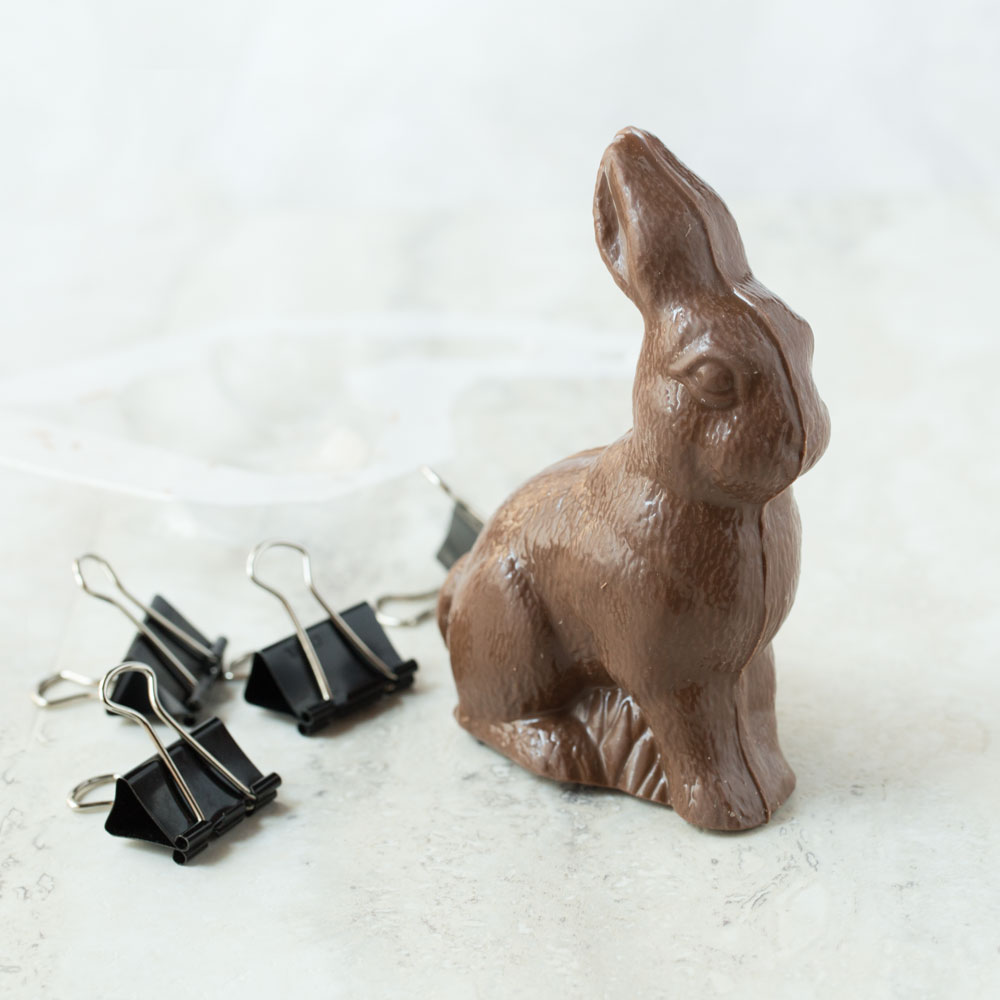
Learn how to make a 3D chocolate bunny this Easter, it’s EASY! You'll not only love the taste of a homemade bunny, but you'll save money too!
Kids will love these chocolate bunnies in their Easter baskets and you only need a few ingredients and tools to get started!
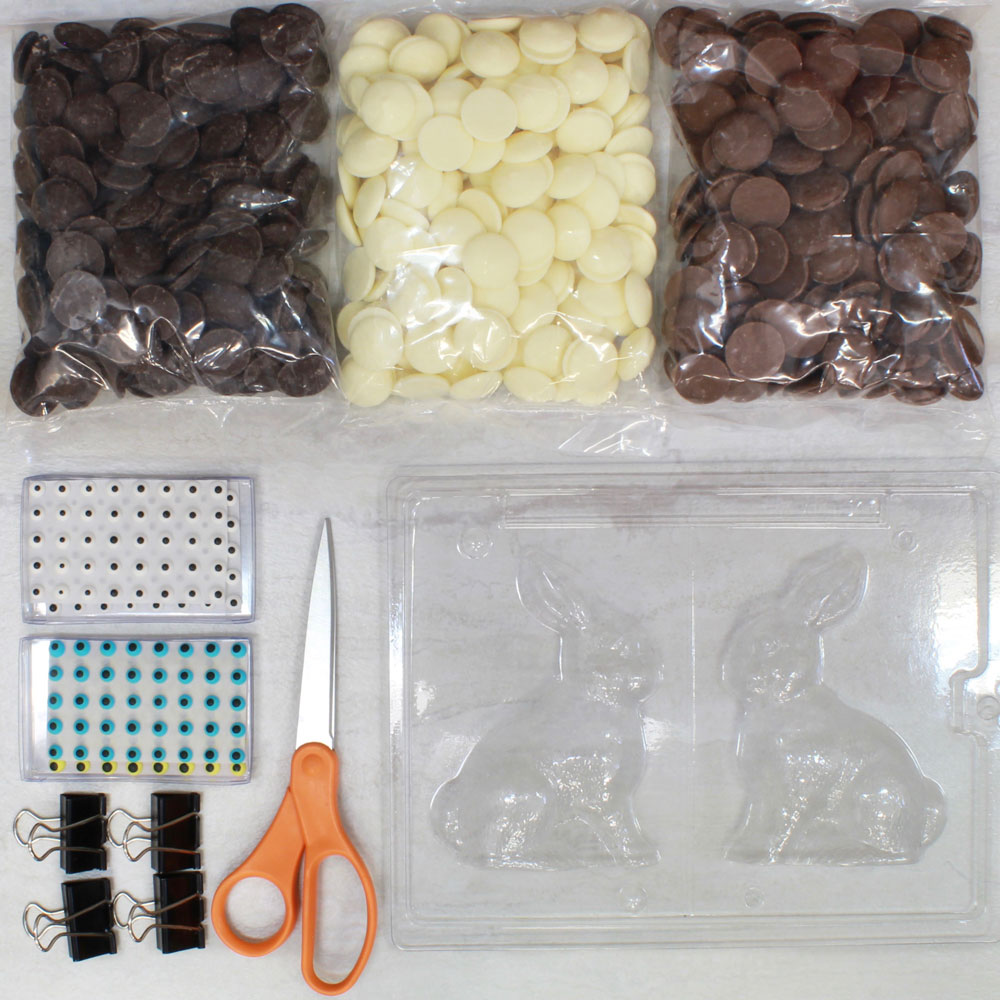
What You’ll Need:
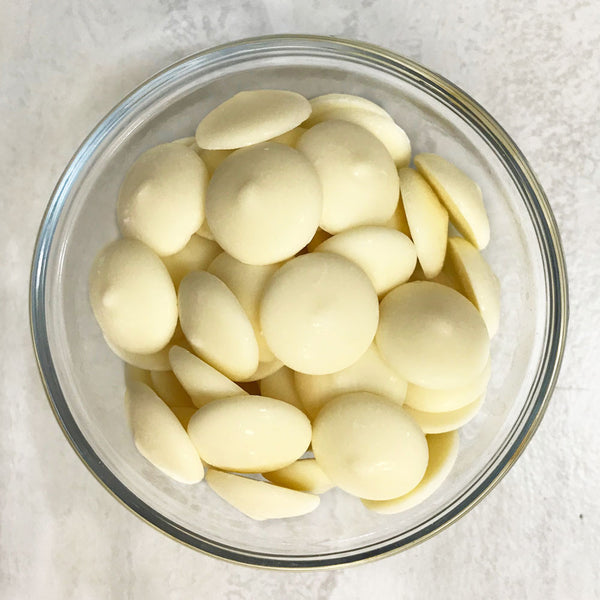
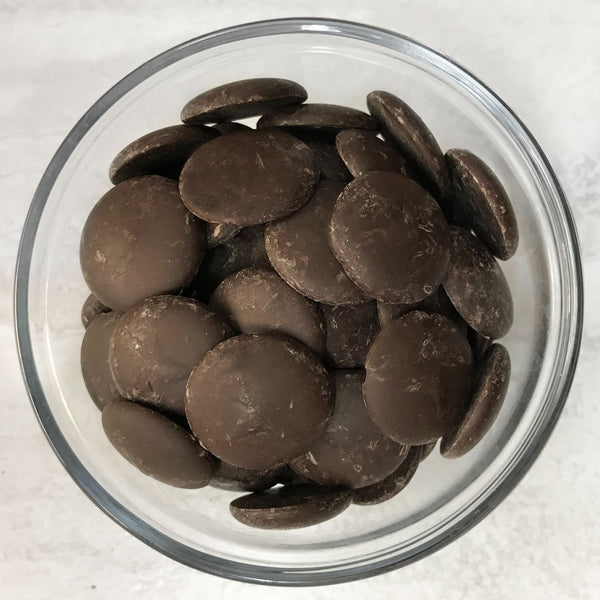
1 LB Merckens coatings* (milk, dark, white or colored)
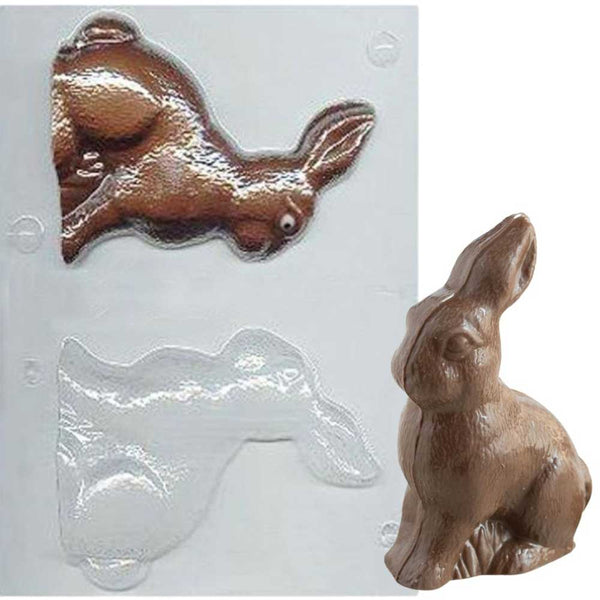
5 inch 3D Easter bunny mold
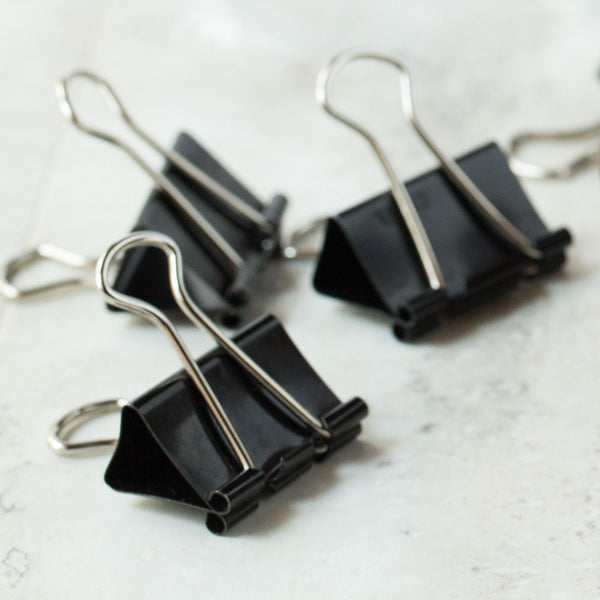
Binder clips
Rainbow Merckens for painting (optional)
Scissors
*This mold makes approximately three hollow chocolate bunnies per pound of candy coatings.
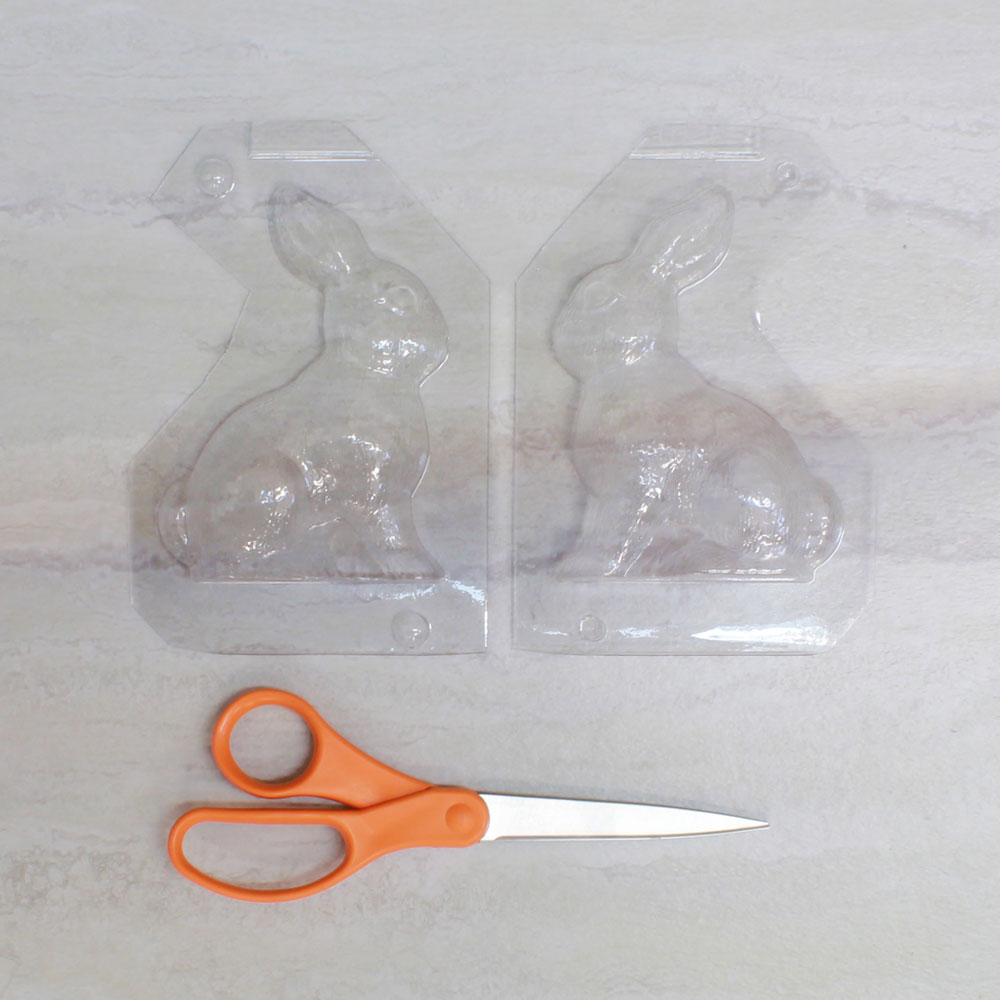
Cut the mold down the middle to separate the two halves. Trim the mold so there’s about an inch of plastic all the way around.
Melt a cup of Merckens chocolate melts in a microwave-safe container, 20 seconds at a time. Remove chocolate from the microwave and stir between each 20-second interval. See how to melt Merckens melts here.

Steady your chocolate mold over a container of your choice (plastic food containers work well for this). Pour melted chocolate into one half of the mold, filling it to the top.
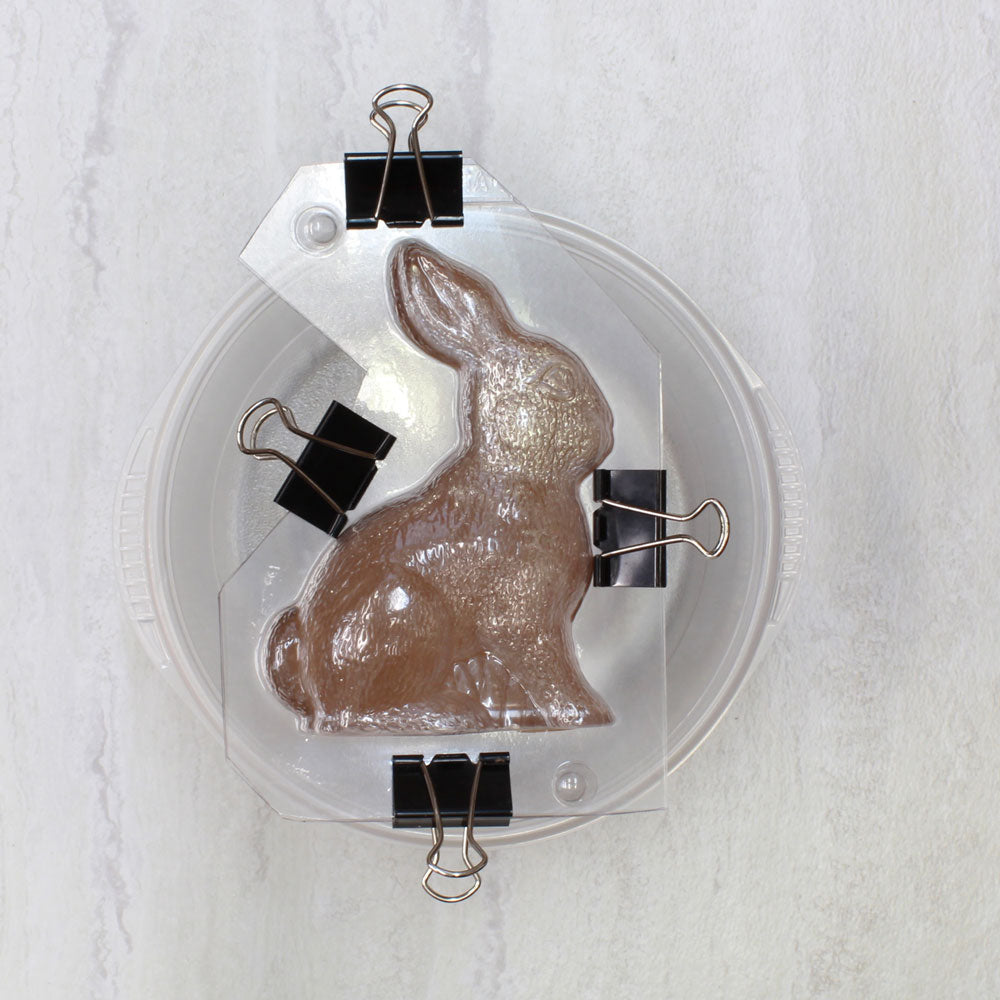
Place the second half of the mold on top of the first. Be sure the cavities of the mold line up. Use the little round notches as a guide. Secure the two halves together with binder clips.

Rotate the mold to completely coat the inside with chocolate. Gently tap details such as the nose, ears, and feet as you work. This ensures air bubbles release and chocolate gets into every corner.
Place your chocolate easter bunny face side up in your container. Place in the refrigerator, and set a timer for 1 minute.
After 1 minute, flip the bunny to the other side, and set your timer for another minute. Continue flipping the bunny back and forth every minute for a total of 10 times (10 minutes).
After 10 times, rotate one last time and let your bunny set in the refrigerator for an additional 15 minutes (no rotating).
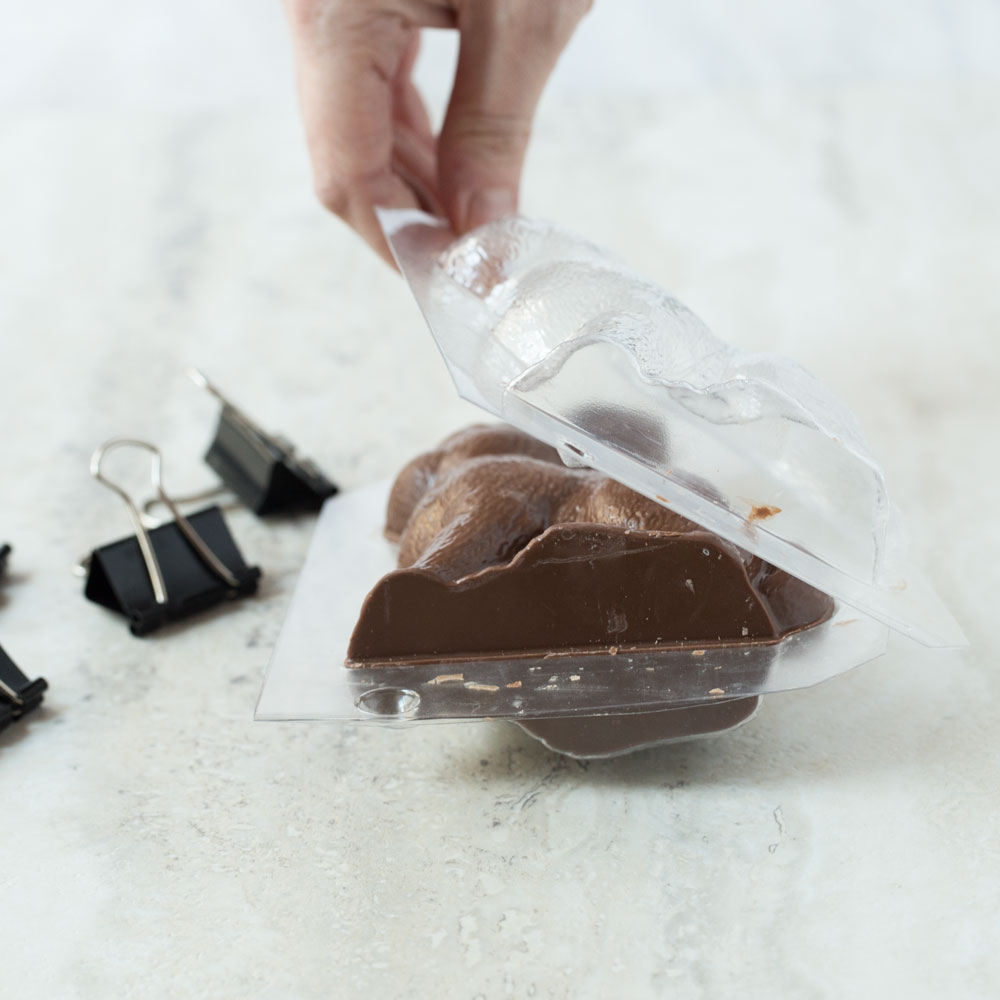 Take your bunny out of the refrigerator, unclip the mold, and pull off one half of the mold. Carefully pull off the other half, separating the bunny from the mold entirely.
Note: Try not to touch the chocolate bunny too much, or you’ll leave fingerprints.
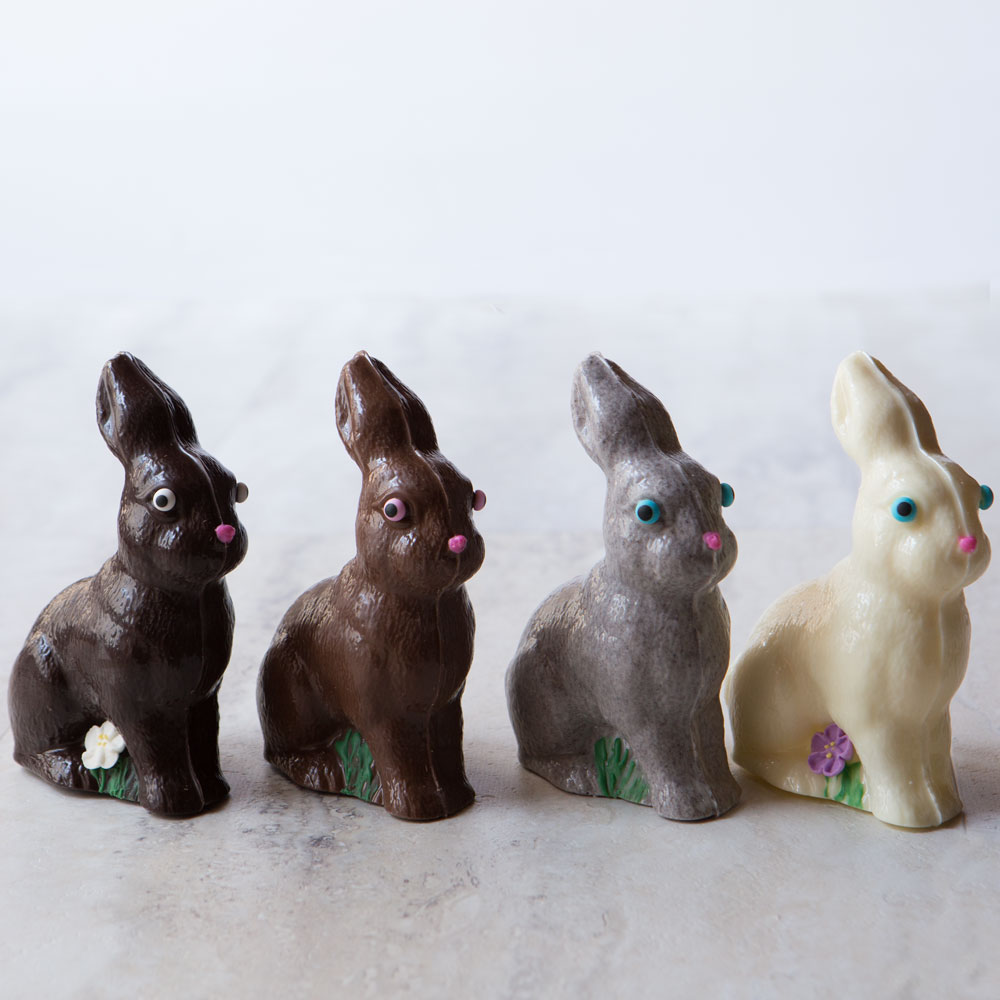
How to Decorate a Chocolate Bunny
Decorating this bunny is optional, but makes it look extra special!
Our rainbow mixed pack of colored merckens candy coatings are great for when you only need a few chips of color to decorate with.
Use a small bowl to melt just a few chips of color, microwave for 10-second intervals, stirring and mashing the candy coatings in between intervals.
Once melted, you can place your container on a heating pad to keep the colored coatings melted. Use a candy brush to paint the details of your finished chocolate easter bunny.
You can use a toothpick to apply a few dabs of pink chocolate to his nose.
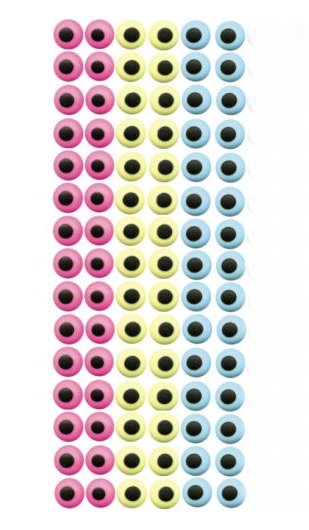
Bring it to life- Add icing eyes, glue them on with melted chocolate.
Make a cookies and cream bunny - Add 1/4 cup of fine chocolate cookie crumbs to 1lb of melted candy coatings. That’s it! You can make your chocolate Easter bunnies at a fraction of the cost and they’ll taste better too!